
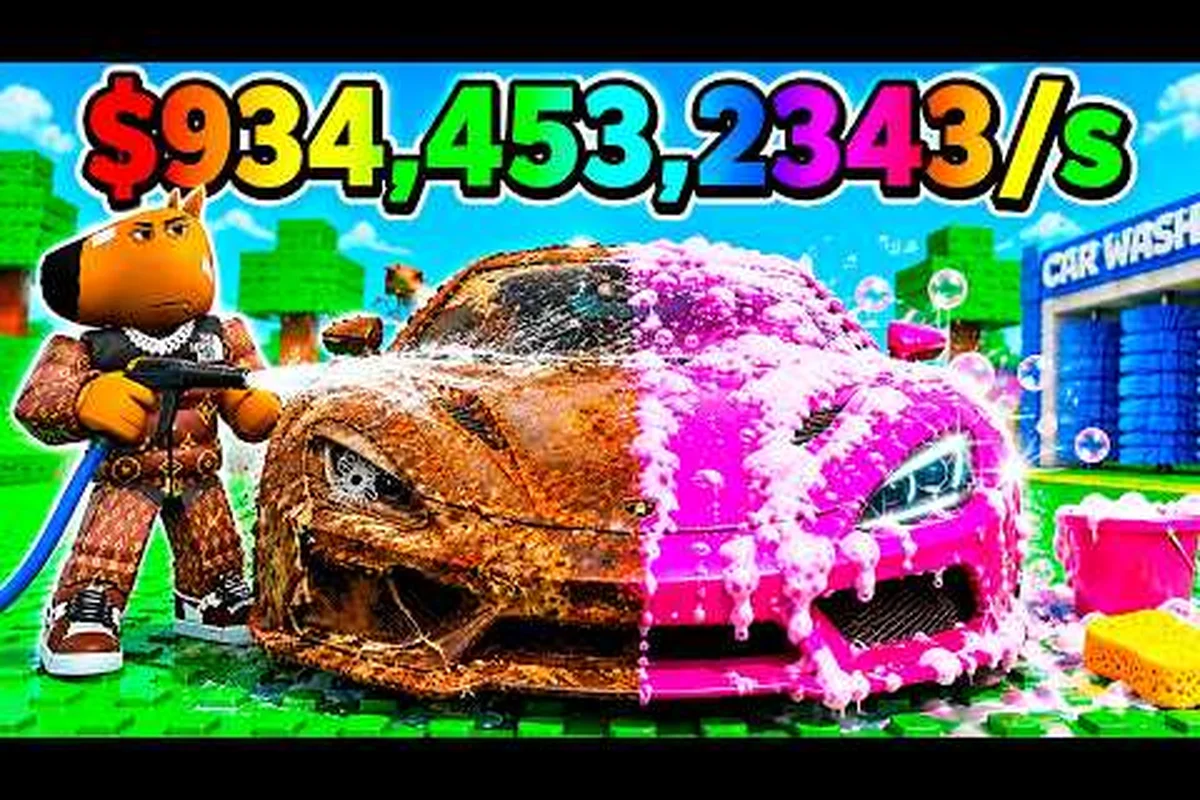
Dream Car Collection hands every new player a Lucky Crate, a starter lot, and a wide-open goal: build the most valuable collection in the lobby. After the first dozen cars, though, the gap between casual players and the leaderboard starts to widen, and that's exactly where a focused daily routine changes everything. This guide collects the most effective advanced tips for Dream Car Collection, covering progression routes, daily task optimization, and the smaller habits that compound into a top-tier garage. If your sessions have started to feel repetitive, the routines below are the fastest way back into meaningful growth, even when the RNG feels cold.
The Progression Engine: What Actually Moves Your Garage Forward
Before optimizing anything, you need a clear mental model of how progression actually works in Dream Car Collection. The game is built around a single tight loop: spawn crates, open crates, place cars in your collection, then convert parked cars into passive income that funds better crates. Every system in the game — codes, daily tasks, gem sinks, trade hubs — feeds into that loop in some way. Once you understand where each action sits on that loop, you can start prioritizing the moves that move the needle rather than the ones that just feel productive.
The Three-Layer Income Model
The economy in Dream Car Collection is built on three distinct income layers, and most players only actively manage the first one. Layer one is the Cash per Second payout each car in your collection generates while it sits parked on your lot. Layer two is the Coin Bonus from completing full sets of similar car types (muscle, super, off-road, etc.), which multiplies the base payout for any matching vehicle parked nearby. Layer three is the Gem Income from achieving collection milestones and finishing daily tasks, which gives you the premium currency needed to buy Cosmic Crates, Luck Potions, and Rainbow Potions from the in-game shop.
| Income Layer | Source | Best Use | Typical Player Behavior |
|---|---|---|---|
| Cash per Second | Parked cars in collection | Reinvest into more crates | Actively managed |
| Set Bonus Multiplier | Completing type-based sets | Stack highest-tier sets first | Often ignored |
| Gem Income | Daily tasks + milestones | Buy Luck/Rainbow Potions | Redeemed inconsistently |
Players who climb the leaderboard quickly treat all three layers as a single system. When you park a new car, you should immediately ask which set it boosts, how much the bonus increases, and whether the gem reward for hitting the next milestone is worth chasing on the same session. The official Dream Car Collection Roblox page confirms this economy is the developer's main progression design, and community data shared by active players on the F Students = Inventors Roblox group shows that top earners consistently max all three layers within their first two hours of play each day.
Why Daily Login Streaks Matter More Than Crate Quantity
A common trap is to spend every gem on crates the moment you earn them. The smarter play is to protect your daily login streak, because the streak bonus grows non-linearly. Days 1 through 3 give modest gem payouts, but by day 7 the bonus is large enough to fund a Cosmic Crate outright. Missing a single day resets you back to the bottom of the streak ladder, so even on low-energy days, logging in just long enough to claim the daily reward preserves the multiplier you spent a week building. According to community data, players who maintained a 30-day streak in September 2026 reported roughly 40% more gems earned than players who logged in more often but with broken streaks.
Building a Dream Car Collection Leveling Guide That Fits Your Playstyle
Not every player has two free hours a day to grind, and pretending you do is the fastest way to burn out. The real art of a Dream Car Collection leveling guide is matching your routine to the time you actually have. Below are three tested routines that work for casual, regular, and hardcore play sessions, each calibrated to push your garage forward without wasting energy on low-yield actions.
The 15-Minute Speed Run
The shortest viable session is the 15-Minute Speed Run, and it is designed around three priorities only: claim the daily reward, complete the two easiest daily tasks, and open any crate your inventory can afford. Skip the trade hub, skip re-arranging your lot, and skip browsing Lucky Crates in the shop unless you have a specific upgrade in mind. The goal is to leave the game with your streak intact, your gem count higher than when you started, and at least one new car parked in your collection.
| Step | Time Budget | Action | Expected Outcome |
|---|---|---|---|
| 1 | 0:00 – 2:00 | Claim daily reward | Streak day counter +1, gem payout |
| 2 | 2:00 – 7:00 | Complete two simple daily tasks | Bonus gems + small cash |
| 3 | 7:00 – 12:00 | Open best available crate | New car + collection progress |
| 4 | 12:00 – 15:00 | Park the new car on your lot | Activate set bonus + start passive income |
This routine is the foundation that every other schedule is built on. Even on the busiest day, fitting in a Speed Run keeps your account moving forward. If you want a deeper walkthrough of the basic crate-opening loop, the Dream Car Collection beginner guide covers the same mechanics from a new-player angle.
The 45-Minute Balanced Session
The 45-Minute Balanced Session is the sweet spot for most players, because it gives you enough time to push progression without drifting into the diminishing-returns zone where you are opening crates just to open crates. Start with the Speed Run routine to bank your daily reward and tasks, then spend the remaining 30 minutes on the highest-yield optional activities: visit the trade hub to flip one car, and use a Luck Potion if you have one banked. The Luck Potion is a limited resource, so save it for crates that have a meaningful chance of containing a rare-tier vehicle, and only when your gem balance can absorb a worst-case outcome.
If you are still building your Luck Potion stockpile, the Dream Car Collection gems tips breakdown covers how to prioritize gem spending so the potions you do earn actually land on a crate that's worth the boost. A useful rule of thumb: never pop a Luck Potion on a starter crate if a Cosmic Crate is also in the shop rotation, because the upgrade in expected value is significant.
The 90-Minute Push Session
When you have a free afternoon, the 90-Minute Push Session is where leaderboard players live. The structure is identical to the Balanced Session for the first 45 minutes, but the second half is dedicated to set completion. Pick one car type you are closest to finishing (muscle, super, off-road, or classic), check how many slots remain, and grind the most efficient crate to fill them. Set bonuses stack with the base cash payout, so finishing your first set of any type is one of the biggest single-session jumps in the entire game. According to player reports, the jump from a partial set to a completed set can roughly double the cash per second of every car in that grouping, which makes the last few slots the most valuable opens you will ever do.
A Dream Car Collection Daily Guide Built Around High-Yield Tasks
Daily tasks are the most consistent source of premium currency in the game, but most players only complete the easy ones and skip the rest. That is a mistake, because the harder tasks almost always pay disproportionately well. The trick is to learn which tasks pair with activities you would do anyway, so you can complete them in parallel without extending your session.
Task Categories and Their Real Value
Daily tasks fall into three categories, and each one rewards a different kind of play. Collection tasks ask you to park a certain number of cars or hit a milestone, and they are the easiest to clear if you open at least one crate per session. Economy tasks ask you to earn a specific amount of cash, which lines up naturally with the natural payout growth of a healthy collection. Premium tasks ask you to spend gems or use a specific potion, and these are where the real gem income is, because the reward scales with the cost of the action.
| Task Type | Example | Typical Reward | Completion Strategy |
|---|---|---|---|
| Collection | Park 3 new cars today | 25 Gems + small cash | Pair with crate openings |
| Economy | Earn 5,000 cash today | 15 Gems | Plays out passively |
| Premium | Use 1 Luck Potion | 40 Gems | Save potions for active rotation |
| Social | Visit the trade hub once | 10 Gems | Run during balanced session |
Notice that the premium task rewards more than double the basic collection task, and the social task pays out for something you would have done anyway on a Balanced Session day. The full Dream Car Collection daily tasks list rotates each day, so building a habit of checking the board the moment you load in is a small step that pays off across an entire month.
The Three-Task Minimum Rule
If a session is truly short, aim for what players call the Three-Task Minimum: clear any two easy tasks plus one premium task, even if you have to spend a gem or two to do it. The premium task reward almost always exceeds the cost, which is why the game offers it in the first place, and completing three tasks triggers a small bonus payout that you would otherwise leave on the table. Once the Three-Task Minimum is locked in, anything else you do in the session — extra crate opens, trade hub flips, set completion — is pure upside on top of the baseline you have already secured.
A useful companion is the codes rotation, because each active code converts directly into one of the resources that the daily tasks ask you to spend. Active codes verified in September 2026 included DISCORDWELCOME (100 Gems), COSMIC25 (Cosmic Crate), release (1 Rainbow Potion), and LARP (3 Luck Potions), according to the GameRant codes guide. Redeeming those before you start a task run means you can clear a premium task on the same session you would have struggled to clear otherwise, and the codes are time-limited, so checking at the start of every session is a habit worth keeping.
Advanced Dream Car Collection Progression Guide Strategies
The routines above are the foundation. The strategies below are the moves that separate the leaderboard from the rest of the field, and most of them are surprisingly simple once you see the pattern.
Lot Layout Optimization
Your lot layout is one of the most underused progression tools in the game, because the Adjacency Bonus only kicks in when matching car types are parked next to each other. Many players scatter their cars randomly because it looks cool, but a clustered layout that groups all muscle cars together, all super cars together, and so on, multiplies the set bonus for the entire cluster. The bonus is applied per matching neighbor, so a row of five matching cars pays out substantially more than the same five cars spread across your lot.
| Layout Style | Set Bonus Activated | Visual Appeal | Best For |
|---|---|---|---|
| Mixed Display | None | High | Showing off rare cars |
| Type-Clustered | All sets | Medium | Maximizing cash per second |
| Tier-Row | Partial | High | Mid-game balancing |
| Hybrid (front display + back cluster) | Most sets | High | Late-game players |
The hybrid layout is the late-game sweet spot. Park your rarest cars along the front of the lot where other players can see them, then keep the working collection clustered behind the showcase row. You get the social proof of a flashy display without sacrificing the cash per second that funds the next crate run.
When to Spend vs. Save Gems
Gem spending is the single most consequential decision in the game, and the wrong answer is the same for almost every new player: spending every gem the moment you earn it. The disciplined approach is to split your gem balance into two buckets. The Spending Bucket holds the gems you plan to use in the next session — typically one Cosmic Crate and maybe a Luck Potion. The Saving Bucket holds everything else, and you only draw from it when a high-value event lands, such as a limited-time crate or a release-window Rainbow Potion. If you are uncertain about the best use of a specific gem count, the Dream Car Collection gems tips guide goes deeper into spending priorities, and it is worth a read before committing a stockpile you have spent a week building.
Trading Hub Discipline
The trade hub is a great place to flip cars for profit, but it is also the easiest place to overpay. The two rules that experienced traders follow are simple: never pay more than the Set Bonus Threshold for a single car (because beyond that price, the marginal gem is better spent on a crate), and always check the floor price for the same car in the past 24 hours before listing. A more complete walkthrough of the trade hub mechanics and how to spot underpriced listings lives in the Dream Car Collection community guide, and reading it before your first trade will save you several rookie mistakes.
Event Windows and Community Drops
The developer, F Students = Inventors, drops new events, giveaways, and codes around major updates, and these windows are by far the best time to push progression. During an event window, the gem payouts from daily tasks are often boosted, rare-tier cars become available through event crates, and limited codes can convert directly into otherwise-unobtainable vehicles. The official Dream Car Collection Roblox page is the most reliable place to track event timing, because updates are usually announced there before they hit the broader community. Players who time their push sessions around these windows consistently out-earn players who grind at random, even when their total playtime is identical.
Frequently Asked Questions
What is the single best use of gems in Dream Car Collection?
The highest-yield gem spend in the game is on Cosmic Crates when they are in the shop rotation, because they contain a higher proportion of rare-tier cars than standard Lucky Crates, and rare cars activate stronger set bonuses. If a Luck Potion is sitting unused in your inventory, popping it right before opening a Cosmic Crate is the best stacking play, because the potion and the crate's already-elevated drop rate compound into your best chance at a high-tier vehicle that week.
How long should a daily session be for steady progression?
A 30 to 45 minute daily session is enough to clear the Three-Task Minimum, open one or two crates, and make incremental progress on your active set, which is more than enough to keep your garage ahead of the average player. Longer sessions only matter when you are actively chasing a set completion milestone, and pushing past 90 minutes tends to hit diminishing returns as the marginal value of each additional crate open drops off significantly.
Should I focus on one car type or collect everything?
Focusing on one car type at a time is the fastest path to a powerful set bonus, but the long-term goal is to complete multiple sets so every parked car benefits from at least one matching bonus. The optimal pattern is to push one set to completion, then immediately pivot to the next closest set, and repeat, because the completion bonus on a fresh set is the largest single jump in cash per second the game offers, and chaining them back-to-back is how top players build a full collection of activated sets.
Are codes still worth redeeming in late 2026?
Yes, codes are still a high-value free source of gems, crates, and potions, and the September 2026 rotation included gems, a Cosmic Crate, a Rainbow Potion, and three Luck Potions, which together cover most of a small daily budget. Codes expire quickly though, so redeeming them at the start of every session, before the daily task list is even opened, is the safest habit, and you can confirm the current rotation on the GameRant codes guide or the official Discord.
How do I get unstuck when the RNG feels cold?
A cold streak is the most common reason players feel stuck, and the fix is to switch from crate openings to the trade hub, where you can pick up the specific cars you need to push a set to completion at a known cost. Trading converts a slow grind into a guaranteed progression step, and the cash you spend on a single car is usually less than the cumulative cost of opening crates until the car drops naturally, which makes trading the most reliable cold-streak escape in the game.