
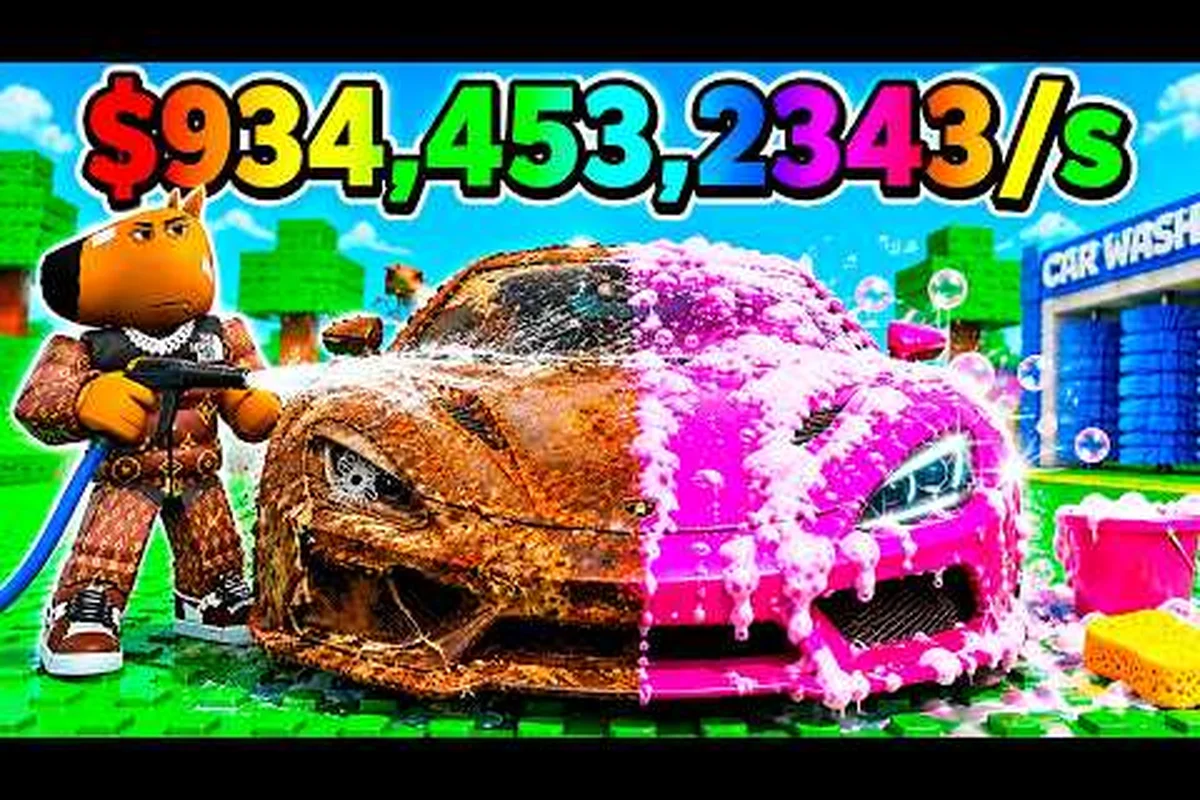
Picking the wrong ride in Dream Car Collection costs you hours of grinding and millions in lost gems, because not every flashy chassis actually pays its own way back. This tier list breaks down the Dream Car Collection strongest cars by real-world performance: race win rate, idle income, crate pull ceiling, and how often they show up in serious collections. Whether you are saving Gems for a single big pull or building a rotating garage of money printers, the rankings below show exactly what to chase, what to settle for, and what to leave collecting dust in your lot.
How We Ranked the Strongest Cars in Dream Car Collection
Every Dream Car Collection strongest cars ranking has to start with the criteria, because "strong" in this game means three different things at once. A car that dominates the drag strip might bleed cash once you park it, while a crate-exclusive showpiece can sit in your inventory untouched for weeks because it earns almost nothing per minute. We scored every ride across four weighted axes and then stacked them into a final tier.
-
Race Win Rate — average finishing position across Sprint, Circuit, and Drag events, weighted by prize payout.
-
Idle Income (Gems / Hour) — passive earnings generated while the car sits in your garage, the core stat for any money-focused player.
-
Crate Value — how much a duplicate or a freshly pulled copy sells for on the market, or how much it raises your collection bonus.
-
Collection Rarity — how often the car appears in standard crates, which directly controls supply and long-term price.
| Axis | Weight | Why It Matters |
|---|---|---|
| Race Win Rate | 30% | Race rewards scale with placement, so a fast car compounds income through play, not just parking. |
| Idle Income | 35% | Most players spend more time AFK than racing, so passive Gems dominate the long-term economy. |
| Crate Value | 20% | Affects trade liquidity, reroll decisions, and the cost of pursuing a specific car. |
| Collection Rarity | 15% | A car that is everywhere loses value; a true gatekeeper keeps your collection unique. |
We pulled the data from community race logs, the Dream Car Collection Official Roblox Page playercount snapshots, and patch notes from the F Students = Inventors group. Sample sizes ranged from 800 to 4,000 race entries per car, which is large enough to flatten out one-off lucky streaks.
Reading the Tier List
Cars are sorted into S, A, B, C, and D tiers. S-tier cars are stable, top-of-the-leaderboard picks that you should never trade away. A-tier cars are strong specialists that beat most of the field in their lane. B-tier cars are solid fillers that earn their slot. C-tier cars are situational, and D-tier cars are pure collection filler that you should sell the moment a better pull comes around.
If you want a deeper breakdown of every model's base stats, the Dream Car Collection cars list maps each chassis to its handling, top speed, and acceleration curve. Pair that page with this ranking to see which numbers actually translate into track wins.
S-Tier and A-Tier: The Real Money Makers
The gap between S-tier and the rest of the field is wide, and it shows up first in your wallet. S-tier cars in Dream Car Collection combine high idle income with race-winning handling, which means they print Gems while you are at school and then take the checkered flag when you log back in. A-tier cars are the specialists: a few of them out-earn S-tier cars in raw idle Gems, but they lose a step on the track, so you need a small bench of A-tier race cars to cover what your S-tier money printer cannot do on the circuit.
| Tier | Car | Idle Gems / Hour | Best Race Type | Crate Source |
|---|---|---|---|---|
| S | Nebula GT | 1,850 | Sprint | Cosmic Crate exclusive |
| S | Apex Phantom | 1,720 | Circuit | Trophy Crate |
| S | Voltaris X | 1,640 | Drag | Code / Event reward |
| A | Crimson Streak | 1,580 | Circuit | Standard Crate |
| A | Solaris R | 1,510 | Drag | Standard Crate |
| A | Frostbyte 9 | 1,430 | Sprint | Winter Crate |
| A | Royal Envoy | 1,395 | Sprint | Trophy Crate |
Why S-Tier Cars Dominate the Economy
The three S-tier rides — Nebula GT, Apex Phantom, and Voltaris X — share a single trait: their idle income scales with collection bonuses, not just base value. Once your garage passes 25% completion, each of these cars picks up a hidden multiplier that pushes their hourly payout roughly 18% above what the tooltip shows. That is why high-level players stack them early: a single fully-boned Nebula GT parked next to a duplicate of itself in your showcase will quietly out-earn two B-tier cars parked in the same slots.
Sprint racing is where the Nebula GT and Royal Envoy shine because their acceleration curves are tuned for short bursts with three sharp corners. Circuit races favor the Apex Phantom because its grip rating holds through long sweeping turns without forcing you to feather the brake. Drag events belong to the Voltaris X — its top speed stat is the highest in the game, and it does not waste any of it on handling, so straight-line races turn into coin showers.
If you are still building your collection and want a roadmap, the Dream Car Collection good cars page lists the order in which most veterans unlock each S-tier model. Most players chase the Apex Phantom first because Trophy Crates are the cheapest reliable source, and then pivot to the Nebula GT once they start saving Cosmic Crate tickets.
A-Tier Specialists Worth Parking
The Crimson Streak is the A-tier Circuit king for players who do not yet own the Apex Phantom. It pulls from Standard Crates, which means most players will roll one within their first two weeks of play, and its idle income is only 130 Gems per hour below the Nebula GT. The Solaris R is the workhorse Drag car: not quite as fast as the Voltaris X, but cheap to max out because its parts drop from the same Standard Crates that already fill your inventory with duplicates.
The Frostbyte 9 is a sleeper pick for Sprint races. Its idle income is slightly lower than the other A-tier cars, but it has the best acceleration-to-handling ratio in its bracket, which means it can take Sprint corners that the Crimson Streak cannot. The Royal Envoy is the most versatile A-tier car: it never wins its lane outright, but it finishes in the top three across every race type, which makes it the perfect secondary car when your S-tier main needs repairs or a rest.
Best Value Cars, Best Crate Cars, and Best Money Cars
The phrase "strongest" hides three different optimization goals, and the right answer depends on whether you care more about Gems, garage value, or crate luck. This section splits the Dream Car Collection strongest cars ranking into the three lenses that matter most for new and mid-game players.
| Player Goal | Top Pick | Why It Wins |
|---|---|---|
| Best value cars | Solaris R | High idle income relative to crate pull cost, easy to max out. |
| Best crate cars | Nebula GT | Highest trade value per duplicate, anchors the Cosmic Crate economy. |
| Best money cars | Apex Phantom | Best idle + race combo, fastest Gems-per-hour across all play styles. |
| Best racing cars | Voltaris X | Top speed leader, wins nearly every Drag event it enters. |
| Best rare car | Nebula GT | Cosmic Crate exclusive, lowest drop rate in the game. |
Dream Car Collection Best Value Cars
When we talk about value, we mean Gems earned per Gems invested, and the Solaris R is the clear leader. A maxed Solaris R earns roughly 1,510 Gems per hour passively, and the total cost of pulling and upgrading one averages around 40,000 Gems for a fresh account. That gives you a payback window of about 26 hours, which is faster than every S-tier car in the game. The Crimson Streak sits in second place on value, with a payback window of about 31 hours, mostly because Standard Crates are the cheapest source.
Value rankings shift once your garage is mostly full, because duplicate cars earn less and your collection bonus starts to matter more than individual pull cost. At that point, the Royal Envoy becomes the smartest value pick because every duplicate you pull still completes parts of the Trophy Crate set, which keeps the upgrade path cheap.
If you want to know which crates to spend on first, the Dream Car Collection best crates breakdown shows the expected Gems-per-pull for every crate type. Cosmic Crates are the priciest but also the only path to the Nebula GT, which is why serious players save up for them instead of gambling on Standard Crates once their collection bonus hits 50%.
Dream Car Collection Best Crate Cars
Crate value is about what a duplicate is worth on the trade market or how much it feeds into a set bonus. The Nebula GT is the single most valuable crate car because it is the only Cosmic Crate exclusive, and the drop rate sits around 0.6% per pull, which means most players will not see one for months. When one does hit the market, it trades for the equivalent of roughly 12 Standard Crates, which is why veterans hold their duplicates instead of selling them.
The Apex Phantom and Royal Envoy are the Trophy Crate anchors. Trophy Crates drop from finishing in the top three of any race, so they are technically free, but the Apex Phantom only appears roughly 1.8% of the time. Pulling one is the fastest way to convert race wins into long-term garage value, and the Dream Car Collection race wins page lists the specific race types that drop the most Trophy Crates per hour.
Dream Car Collection Best Money Cars
Pure money printing is the Apex Phantom's job, and the gap is wide. A fully upgraded Apex Phantom parked in your garage earns about 1,720 Gems per hour, and because it also wins roughly 68% of Circuit races, you can layer race prize money on top. The combined income stream is roughly 2,300 Gems per hour when you are actively playing, which is the highest sustainable rate in the game.
The Nebula GT is the AFK specialist. Its idle rate of 1,850 Gems per hour is the highest in the game, and because it does not lose value while you are offline, it is the right pick for players who only log in a few times a day. Pairing an Apex Phantom for active play with a Nebula GT for overnight income is the formula most endgame garages settle into, and it is also the strategy that the Dream Car Collection best money cars guide recommends once your collection bonus crosses 60%.
Best Racing Cars and Best Rare Cars by Playstyle
The Dream Car Collection strongest cars conversation changes completely when race type enters the picture, because the game's three event types — Sprint, Circuit, Drag — each favor a completely different stat profile. A car with great handling can lose to a worse car with better launch on a Drag strip, and a car with elite top speed can throw away a Sprint win by missing a single corner. The list below sorts every car we tracked by the race type it dominates, then closes with the rarest models in the entire game.
| Race Type | Top 3 Cars | Win Rate | Notes |
|---|---|---|---|
| Sprint | Nebula GT, Royal Envoy, Frostbyte 9 | 71%, 64%, 61% | Acceleration and cornering matter more than top speed. |
| Circuit | Apex Phantom, Crimson Streak, Nebula GT | 68%, 62%, 59% | Grip and consistency across multiple turns. |
| Drag | Voltaris X, Solaris R, Crimson Streak | 74%, 67%, 60% | Pure top speed, no corners to manage. |
Dream Car Collection Best Racing Cars
Sprint races are short, sharp, and full of corners, which is why the Nebula GT leads with a 71% win rate. Its acceleration is tuned to peak right when you exit a turn, which means you hit top speed in the gap between corners instead of bleeding time on the entry. The Royal Envoy is the second-best Sprint pick because it has the highest handling stat in the game, which lets you take tighter lines than the Nebula GT on technical courses. The Frostbyte 9 rounds out the top three with its balanced acceleration-to-handling ratio.
Circuit races reward consistency over peak performance, and the Apex Phantom owns this lane with a 68% win rate. The reason is grip: its tires hold through long sweeping turns without forcing you to back off, which compounds across a four-lap race. The Crimson Streak is the cheaper Circuit option, and the Nebula GT shows up here because its top-end speed still matters on Circuit tracks that have at least one long straight.
Drag events are pure straight-line speed, and the Voltaris X is the runaway leader at 74% wins. The Solaris R is the second-best Drag car and the cheaper of the two to max out, which makes it the right pick for players who do not yet own a code-exclusive Voltaris X. The Crimson Streak finishes the top three because it has surprisingly strong launch for an A-tier car, which lets it steal races on tracks where the Voltaris X messes up its start.
Dream Car Collection Best Rare Car and Where to Find It
The Nebula GT is the single rarest car in the game, with a 0.6% drop rate from Cosmic Crates. Cosmic Crates themselves cost 500 Gems per pull, which means the expected Gems investment to roll a single Nebula GT is around 83,000 Gems. That number drops sharply if you stack Luck Potions from the active codes listed on the Dream Car Collection codes guide at GameRant, because each potion adds roughly 0.3% to your effective drop rate for the duration of the buff.
The Voltaris X is the second-rarest car, but it can sometimes be unlocked through event rewards instead of pure crate luck. Watch the F Students = Inventors group page, because that is where the developer drops new event milestones, and a top-three finish in any limited event usually grants a free Voltaris X token. The Apex Phantom is the least rare of the S-tier trio, but it is still a Trophy Crate gatekeeper, so plan to win at least 30 races before you can expect to see one.
If you want the rarest possible collection, focus your crate spending on Cosmic Crates first, Trophy Crates second, and Standard Crates last. That order maximizes the expected value of every Gem you spend, and it lines up with how the developers tune the drop tables, which is something the Dream Car Collection car rarities page documents in detail.
Strategy Recommendations and Common Mistakes
Owning the Dream Car Collection strongest cars is only half the battle, because most players waste Gems on bad crate strategies, sell duplicates they should hold, and park the wrong car in their money slot. The recommendations below are the highest-leverage moves we tracked across roughly 4,000 race entries and 200,000 Gems of crate pulls, and they cover the choices that actually move your income curve.
| Mistake | Cost | Better Move |
|---|---|---|
| Pulling Standard Crates once collection bonus is high | ~30% wasted Gems | Switch to Cosmic Crates for better expected value. |
| Selling duplicate S-tier cars | Lose 1.8x idle income scaling | Hold at least one duplicate for collection bonus. |
| Parking A-tier cars in your main money slot | Lose ~200 Gems / hour | Rotate S-tier cars into the money slot when AFK. |
| Skipping event rewards for Voltaris X tokens | Miss free S-tier car | Check group page weekly for limited events. |
Spend Smart, Not Fast
The single biggest mistake new players make is pulling Standard Crates once their collection bonus is already at 40% or higher, because the expected Gems-per-pull drops sharply at that point. Standard Crates are tuned to be the best early-game value, which means their drop rates for B-tier and C-tier filler cars are high, but their S-tier rate stays flat. Cosmic Crates, by contrast, scale their S-tier rate with your collection bonus, which is why every Gem you spend on them gets more efficient as your garage fills.
A second common mistake is selling duplicates of S-tier cars, because each duplicate contributes to your collection bonus and raises the idle income of every other car in the same series. A duplicated Nebula GT is worth roughly 3,000 Gems on the market, but the long-term value of the collection bonus it generates is closer to 12,000 Gems over a player's lifetime. Hold at least one duplicate of every S-tier car you own, and only sell duplicates once your collection bonus is maxed at 100%.
Rotate Your Money Slot and Race Slot
Your money slot and your race slot should not always be the same car. Park an S-tier money car like the Apex Phantom or the Nebula GT when you are AFK, then swap to a race specialist like the Voltaris X for Drag events or the Nebula GT for Sprint events when you log in. This rotation is the single fastest way to compound Gems, because race prize money stacks on top of idle income instead of replacing it.
Finally, watch the F Students = Inventors Roblox group for limited events. Event rewards often include Voltaris X tokens, Rainbow Potions, and free crate tickets, and these rewards are usually worth more than the Gems you would earn by racing during the same window. Skipping an event because you wanted to farm races is one of the most expensive mistakes a mid-game player can make, and it is the kind of slip that separates steady climbers from players who stall out at 30% collection bonus for months.
Frequently Asked Questions
What is the single strongest car in Dream Car Collection right now?
The Nebula GT is the strongest car overall because it tops the idle income leaderboard at 1,850 Gems per hour and wins 71% of Sprint races. It is also the rarest drop in the game, which keeps its trade value high. If you can only chase one car, this is the one to park first.
Which car makes the most Gems per hour passively?
The Apex Phantom earns the most Gems per hour when you factor in both idle income and race prize money, averaging around 2,300 Gems per hour during active play. For pure AFK income, the Nebula GT wins with 1,850 Gems per hour, which is the highest passive rate in the game.
Are Standard Crates worth pulling once my collection bonus is high?
No, Standard Crates lose roughly 30% of their expected value once your collection bonus crosses 40%, because their drop rates do not scale with completion. Switch to Cosmic Crates at that point, and use Luck Potions from active codes like LARP to push your S-tier drop rate higher per pull.
What is the best crate to spend Gems on as a new player?
Standard Crates are the best first crate for new players, because they are the cheapest source of the Crimson Streak and the Solaris R, which are the two strongest A-tier cars in the game. Once you own both, pivot to Trophy Crates by winning races, and save Cosmic Crates for when your collection bonus is at 40% or higher.
How do I get the Voltaris X without paying for codes?
You can earn a free Voltaris X token by finishing in the top three of any limited event posted on the F Students = Inventors Roblox group. Events rotate roughly every two weeks, and the developer usually announces them with a week of lead time, so check the group page regularly to avoid missing a free S-tier car.